Showing posts with label tutorials 教程. Show all posts

Friday, 20 July 2012

Flying ladybug tutorial~

1. Prepare white, black and red color clay, and a toothpick. You can use any color you want for the body ^^

2. Roll the black ball into a round shape, then use the toothpick to make a line in the middle of the black ball.

3.Roll the red clay into round shape then flatten it.

4. Cut the middle of the round red circle, don't cut it into 2  >.<

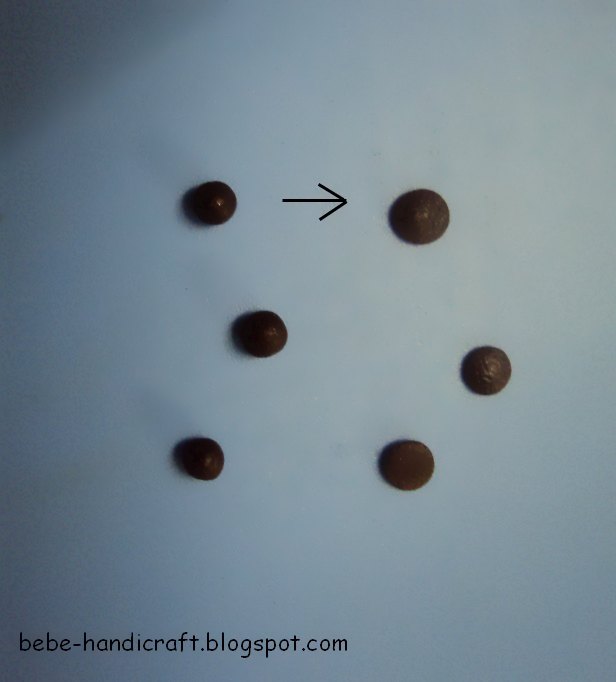
5. Roll 6 mini black ball then flatten it.

6. Apply some white glue and paste the black dots on the wings.

7. Stick the wings on the black body.

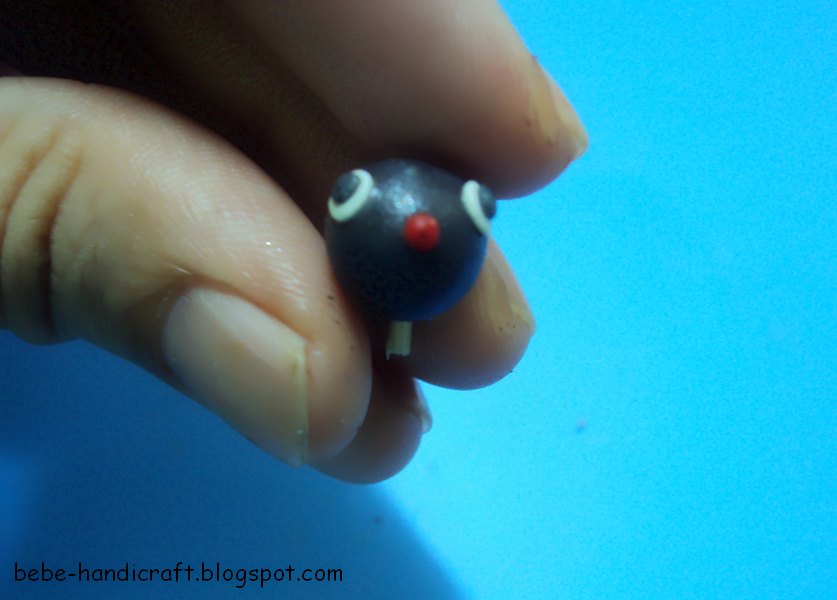
8.Make the ladybug head by rolling a small black ball, 2 mini white ball. 2 mini black ball and 1 mini red ball. The 2 mini black and white ball flatten it and paste on the head. After that put a small piece of tooth pick under the head.

9. Put the head on the body and and add on the antenna and its done~ Is ready to use the lady bug to make it as a keychain or decorate your artworks ^^

Friday, 15 June 2012

Cute ladybug tutorial~

1. Prepare white, red and black color clay, and a toothpick

2. Roll the red clay into round shape, then use the toothpick to make a line in the middle of the red round clay.

3. Take small amount of black clay and roll into 6 mini balls.

4. Flatten the black ball clay .

5. Apply some white glue on the red ball,, then paste the black dots on it.

6. Broke the toothpick into small piece, then roll a small black ball and poke the toothpick inside.

7.  Put the head on the red body.

8.  Roll 2 mini white and black ball and flatten it, then paste on the ladybug head to make it as eyes~

9.  Roll 2 black long shape to make the antenna of the ladybug.

10. Is done~ you can use any color for the body of ladybug ^^v

Thursday, 14 June 2012

Lace glue tutorial~

This is the lace glue~

1. Take a little amount of lace glue and apply even on the soft mold

2. Use some hard and straight things like ruler or name card to scratch away the extra glue, put the extra glue back into the container, don't waste right? hehe.. DO NOT scratch too hard or the glue become too thin and hard to remove, sometimes you will see some small hole that never fill with glue, just apply some more glue and scratch to and fro again..

3. Finish~ leave it dry for at least 10 min

4. Pull the glue out when it completely dry, DO NOT pull the glue when it haven dry through yet, it will stick to the mold

5. This is the 1st time i use the glue, not so perfect   (>.<)   but can remove the extra glue using tweezer, is time to do more practice, hehe..

Taa daa~ that's all ^^
You can decorate using it on the cake or table or clothes or anything else =)

Tuesday, 12 June 2012

miniature cup tutorial~


 1. Get a cover from any tiny bottle

2. Apply a thin layer of oil, then put some talcum clay in the cap. Recommend to use talcum clay as the clay is harder when it dry, and can fix by using sand paper.

3. Press the clay with finger.

4. Use a round edge brush to make a deep hole and make the clay thin enough for the cup wall

5. There will be some extra clay when you press the clay.

6. Remove the extra clay with tools.
7.After remove the extra clay, leave it dry.


8. After it dry then take the clay out from the cap.


9. Use sand paper to smooth the surface and crack part.


10. Make a cup handle by rolling the clay into long shape, then curve it.

11. Stick the handle on the cup and it's done~ You can color the cup or draw some pattern on the cup using acrylic color, after that apply a layer of varnish coat to make it look more real, you can add some drink inside also ^^

Sunday, 13 November 2011

miniature ice-cream tutorial 袖珍冰淇淋教程


1 . Apply a layer of olive oil to make it easier to remove the clay from the mold
1. 在松饼模上涂上一层油,以免黏土会沾在模型上


2. Put the clay on the mold and flatten it with a rolling stick
2. 把黏土放在松饼模上,用擀棒把黏土压扁


3. Pull out the clay from the mold
3. 把黏土从松饼模上拔出来


4. Crop it out using the wave pattern cutting mold
4. 用波浪形模割出形状

5. After crop out the shape
5.割出的形状

6. Take out the clay
6. 把黏土拔起来

7. Roll it into a cone shape
7. 把黏土弄成杯形

8. Squeeze cream clay in the cone
8. 挤奶油土在松饼里


9. done
9. 完成

10. Apply deco sauce on the cream part
10. 放一些仿酱汁在冰淇淋上

11. After done, leave it dry by putting a toothpick under the cone and let it stand on a styrofoam
11. 完成后,放一旁让它风干